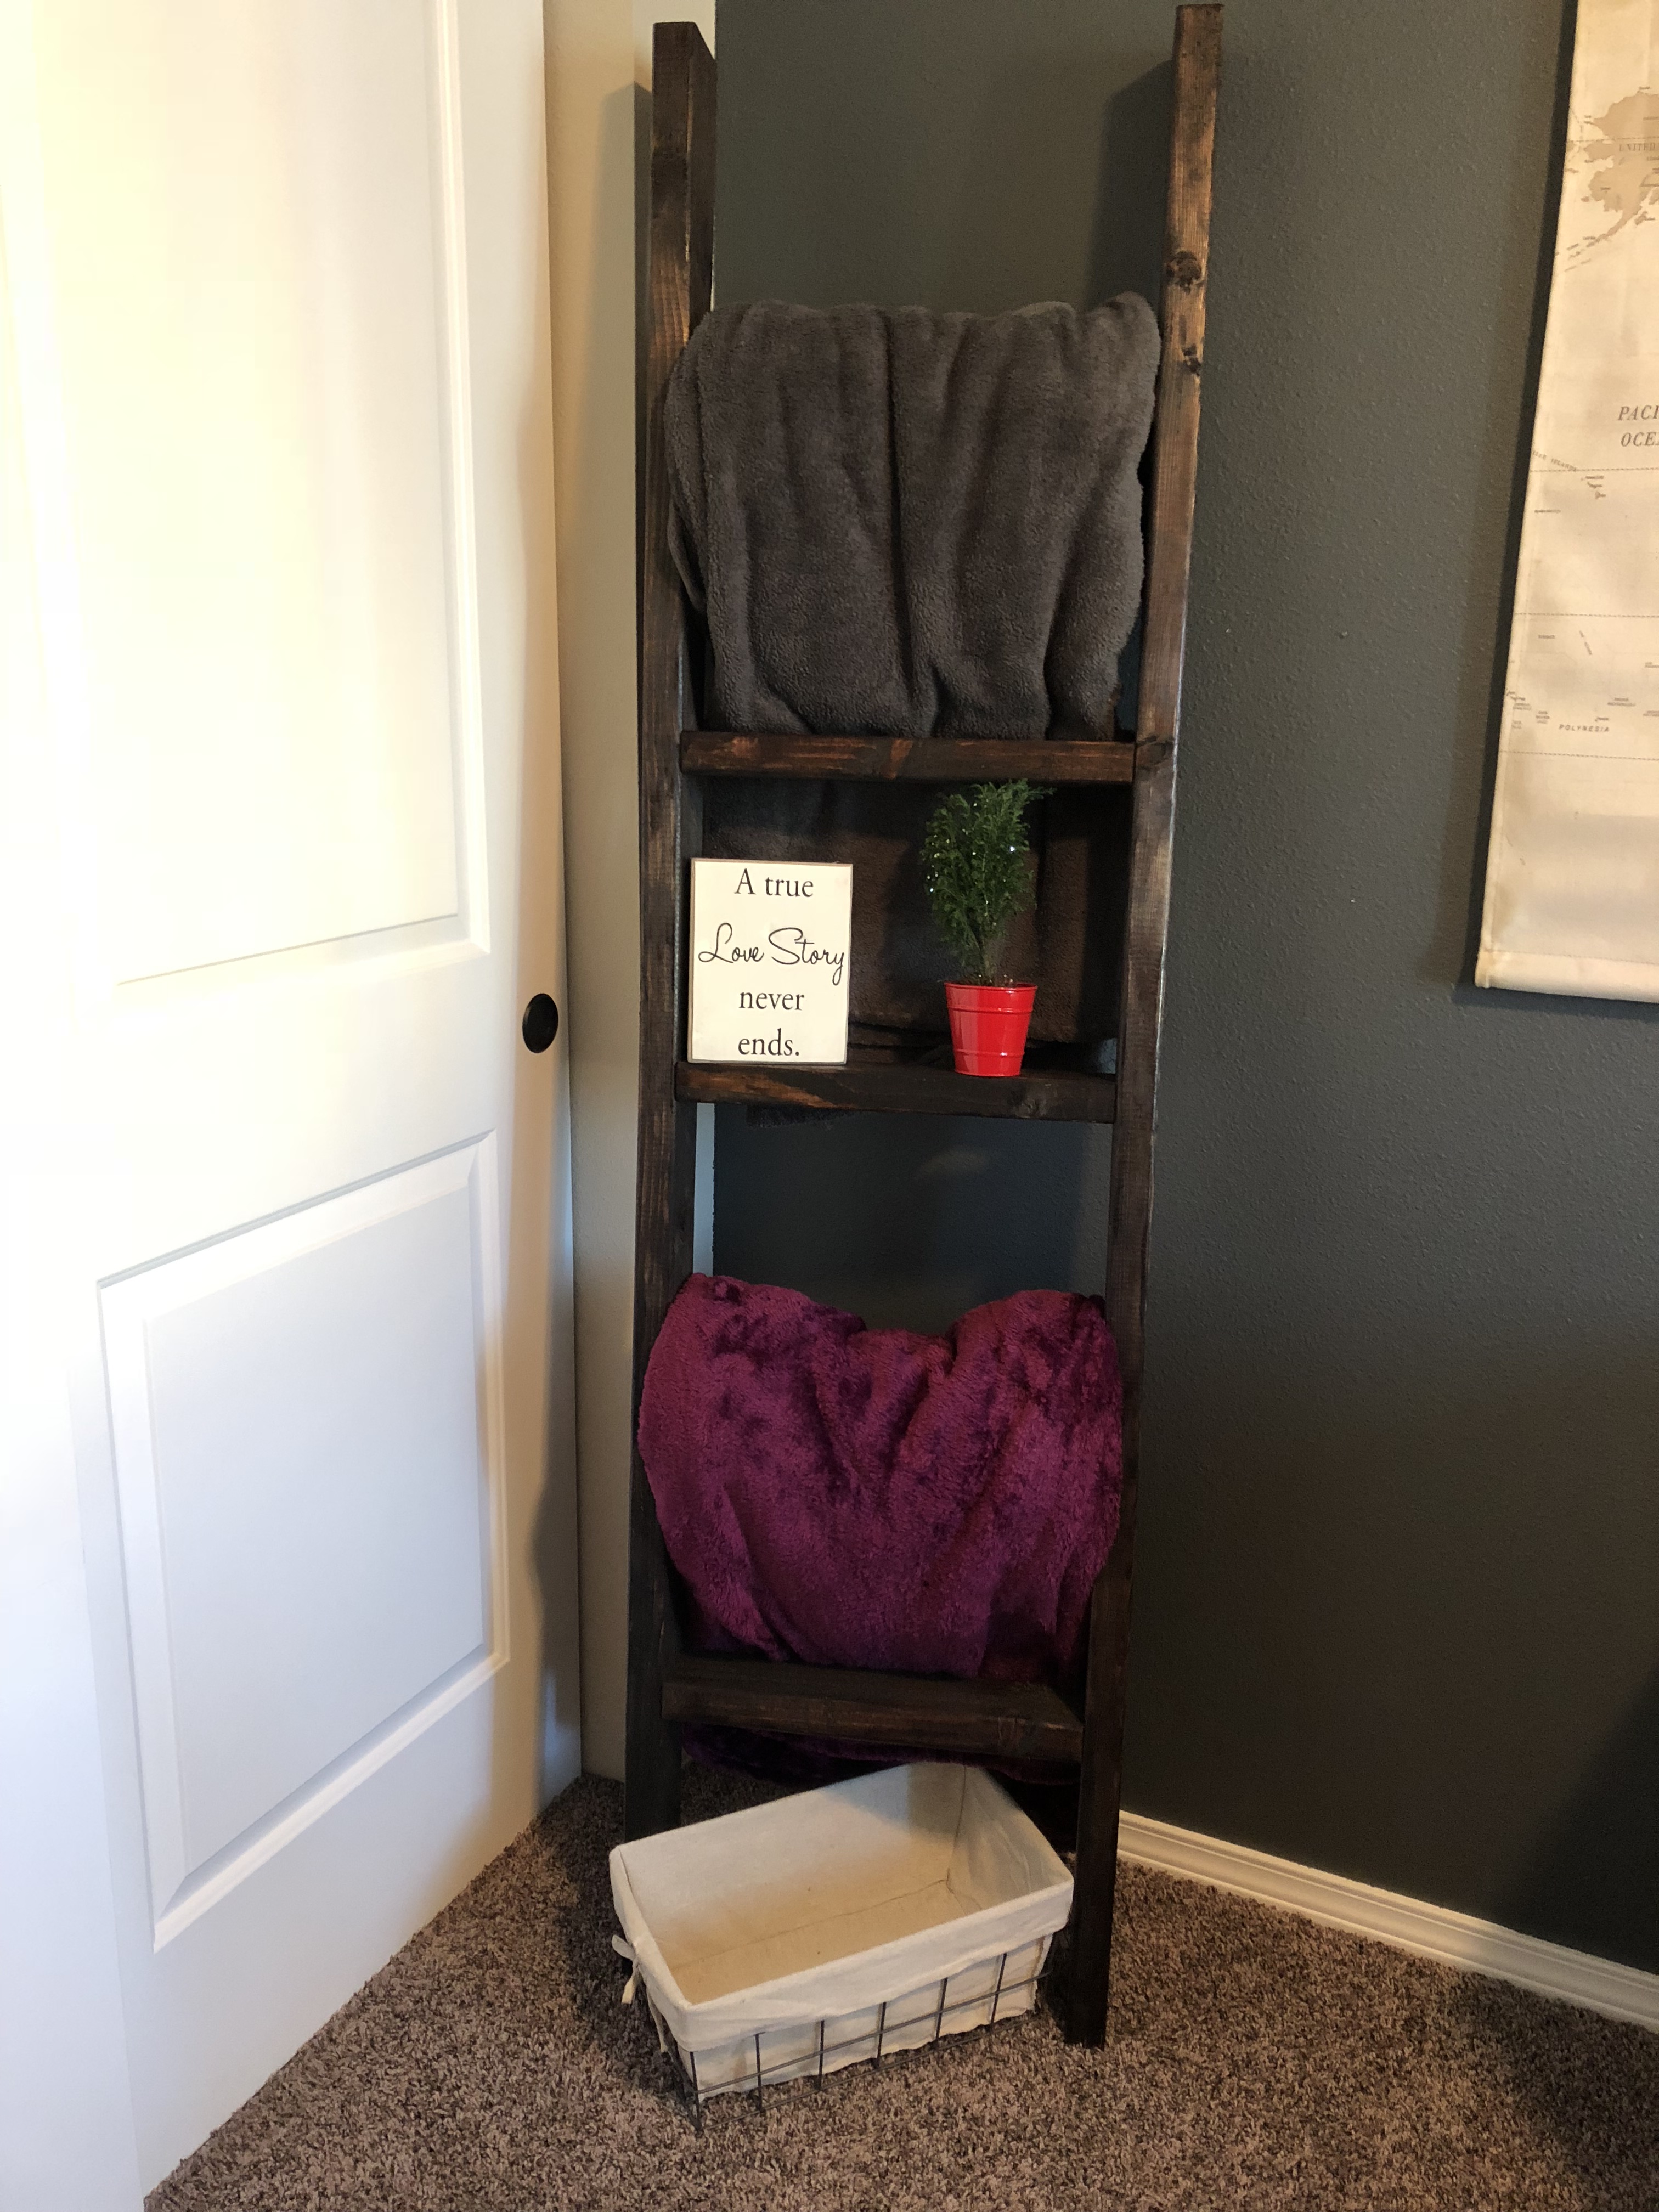
Free Simple Blanket Ladder Plans For Under 10$!
Is it just me or when you pin something on Pinterest you think “oh this is going to be easy…” Only to realize, that you aren’t Chip and Joanna and that this is actually a lot harder than it seems and your simple tools you have at home won’t cut it. These “fun” projects, then, potentially lead to some arguing between you and whoever you’re building with i.e. wife or husband… Yeah I have been there too. Too many times to count. So, that it is what leads me to want to put out simple plans that anyone can follow and that actually look good in the end. These step by step blanket ladder plans are easy and simple to follow, plus they are free, what’s better than that! These plans are for a 6 foot blanket ladder with 5 rungs.
Tools You Will Need:
- 3 2x4x8 boards (you could use 2x4x6 and not cut them down to size, but 2x4x8 are usually cheaper and easier to find because they are used for studs)
- 10 3 inch screws
- Tape Measure
- Circular Saw
- Square
- Pencil
- Drill
- Drill Bit 1/8”
- Stain or paint of your choice. We used Dark Walnut Stain.

Directions:
- First you will want to start by laying your wood out and measuring TWO of them to 6 feet long.
- Then you want to use your circular saw to cut them to six feet.
- Measure out your 8ft board that hasn’t been cut yet. Measure it into FIVE 16 inch sections. These are your rungs.
- Then cut it into the FIVE sections.
- Place your 6ft boards out parallel to each other
- Place rungs on 6ft boards to measure. Make sure the rungs are on their side and not laying flat. Otherwise your measurements will be off.
- Your 1st rung will be placed 11 inches from the top. Measure to the top of the rung not the bottom of it. Otherwise your measurements will be off.

8. The top of your 2nd rung will be placed at 23 inches

9. The top of your 3rd rung will be placed at 35 inches

10. The top of your 4th rung will be placed at 47 inches

11. The top of your 5th and last rung will be placed at 59 inches. Leaving 11 1/2 inches to the bottom of the ladder.


12. Pre-drill each hole (2 per a side) with 1/8” drill bit. This will make it much easier for you to drill in the screws.
13. Drill in each rung using two 3 inch screws per a side.
14. Repeat to all rungs.

15. Stain or paint ladder.
16. Wahoo, you just built your own blanket ladder!
My Amazon picks.
Click photos to view on Amazon.


That would make a great holiday gift! It would look lovely in so many different stains, paint I would think as well.
LikeLike
Wow! I will be checking out this entire blog because I LOVE this and need This! You should sell them on etsy! Love!!!
LikeLike
Oh yes, I have some of those days when I visit Pinterest! Lovely post.
LikeLike
This is really easy to follow, thanks!
LikeLike
Nice. I just love DIY articles. This would come in handy for our farm. 🙂
LikeLike
Omg I love this idea.. thanks so much for sharing the step by step
LikeLike
Oh how interesting. I thought of making a blanket laser once but ended up buying one instead.
LikeLike
Oh waoo.. I love DIYs and I think we might actually be able to make it.
LikeLike
That is an amazing diy Idea I would love to try it 😍 and thank you so much for explaining all the steps ❤
LikeLike
Whoa! That is awesome! I’m saving this page now 🙂
LikeLike
These tips are superb, you written out every thing to do, included photos, and descriptions, this will be one of the many projects that will start my 2019, thank you for sharing.
LikeLike
I love DIY articles. and this post give me an idea nice one!
LikeLike
A ladder is such a useful thing I never thought I could ever build a ladder myself. But I m pretty sure if I follow this guide the process will be much easy. Very detailed article.
LikeLike
I commend all of you DIYers! I’m not that handy so, I just pay the experts to do the job.
LikeLike
Awesome idea! Thanks for sharing
LikeLike
Pinterest is our source of ideas too for every project but yes sometimes it’s really hard to focus on one thing ( it’s just us being persnickity over so many things) and sometimes it looks easy than the actual work….
LikeLike
That is a great spring project that I can work on.
LikeLike
very cool. this is absolutely right!
LikeLike